
Video Production Process Creating great video content can be as complex and multifaceted as a blockbuster movie, or as simple and playful as a 10 second stop motion video. But whatever your video content goals, one thing is certain: you’re going to need a process for creating a video that takes you from concept to delivery.
Production Process:
Once you’ve set your objectives, are clear about your core message, and have identified the type of video you want to create and which channel your final product will be published on, you need to take a few important steps to make sure your production goes off smoothly:
Pre-Production is the planning phase of video production. In this part of the process you need to decide what you want to do, and what resources you require to make it happen. This includes writing a script, establishing a production budget, gathering your props, scouting a location, and more. For a detailed explanation of the different elements involved in pre-production, read on.
1. Source equipment and props
The equipment you need to produce your videos depends on how complex your video will be. It is entirely possible for a small business to create killer videos using just the camera in a smartphone, just as it is quite feasible to use one or more dedicated video cameras, lights and microphones for a more complex video production. As for props, again these depend on the type of video you will be shooting. If you’re telling a story that involves loads of different scenes, you’re going to need to have plenty of props to make the scene convincing, whereas if you’re taking still photos of a piece of merchandise that you plan to combine to form a stop motion animation, then all you’ll likely need is a plain backdrop.
2. Identify talent
A big production may need to hire actors or models, but if you can’t afford to do so, think of co-opting employees, family or friends to help you out. It’s also critical to determine the location for your video shoot. A big production may require a location scout, permissions, etc, while a small production may simply be able to convert a space in an office or home into a temporary studio in which the entire production is recorded.
3. Select team
A production team is responsible for creating your video and is usually made up of one or more videographers and sound recorders, a director, and an editor. But it could also include wardrobe, makeup and any number of other staff. Most small businesses won’t be able to afford a large production team, and this is a good reason to keep video concepts simple, so that execution can be equally simple and possible to carry out alone, or with just one other person.
Establish timeline
To keep production on track and make sure your video is delivered on time, it’s a good idea to set deadlines for completing the script or storyboard, shooting the video, editing the video, and delivering the final draft. Getting those dates on the calendars of everybody involved in production goes some way towards keeping the process on track and ensuring a timely delivery. It’s also worth having a run sheet, particularly for more complex shoots, to outline how the shoot will unfold and provide the details and contact numbers of those involved.
4. Set budget
By now you’ve begun to get an idea of how expensive some video productions can be, and you understand that to turn concept into reality you need to itemize the possible costs involved to get a grip on the total expenditure. Even if your production is small and simple, it’s still worth considering what costs could possibly come up and planning for them in advance.
5. Write script A script or storyboard will guide the production process and is one of the most critical aspects of video marketing pre-production. Without a great storyline, your video has little chance of success. Remember to deliver your marketing message early, make your script or storyboard engaging and compelling, and include a call to action. For more on script writing and storyboarding, check out these two great articles: Business 2 Community’s 15 Easy Tips for Writing Video Marketing Scripts and Vidyard’s The Non-Artist’s Guide To Storyboarding Marketing Videos. This is the phase of the video production process where you carry out what you planned in the previous step (pre-production). Here you will capture the images and audio you require, from interviews to footage shot on location, to be edited into your final video in the post-production phase.
6. Capture images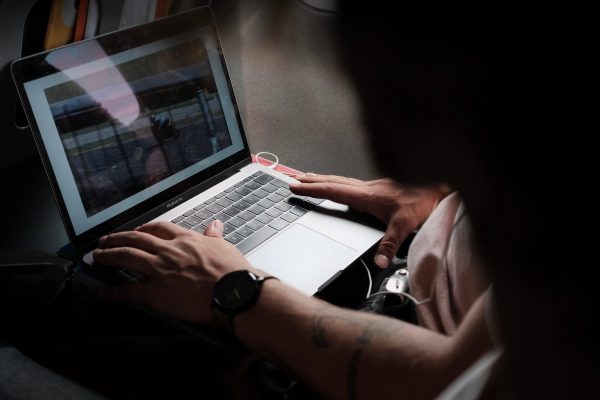 All videos need images but the kinds of images you use will vary widely depending on the type of video you’re creating. For example, if you’re creating a stop motion video or a motion graphic video, you’ll need an abundance of still photos. However, if you’re creating moving images then you need to set up equipment, like a video recorder, audio recorder and a good lighting system. Video Production on the Go is a good place to start for more info on the video creation process.
7. Capture sound
For many kinds of videos, like interviews, customer testimonials, etc, most of the sound is recorded at the same time as the images. For other videos, however, again like stop motion, animation, or motion graphic videos, there is no sound recorded at the time the visuals are captured, so you’d definitely need to either create a voiceover independently, or record your own sound effects. Post-production if when you edit the material you obtained during video production to create a video. This could include adding music, sound effects or motion graphics. You need the appropriate video editing software for post-production, such as the Adobe suite or an in-browser video editor like Placeit. Remember, if you nail your planning and execution, the post-production process will be much easier.
8. Create video
Once you have your images, video recordings, and audio recordings, you may find that you need music and/or additional sound effects and graphics to complete your video creation. When you’ve sourced all of your various resources, it’s time to put everything together using tools like Placeit’s Video Maker, or video editing software like Adobe Premiere Pro or Adobe After Effects. To find out more about video editing, the Tuts+ course Introduction to Video Editing is just what you need.
9. Deliver and publish
After the video has been created, the next step is to review it and make revisions as needed. Once all tweaking has been completed and the video has been approved, you can export and upload it to your target platform, be that YouTube, Wistia or a social channel.